Workspace Basics
Menus
Images menu affects whole document, layer just individual layer you’re on. Select let’s you select specific parts. Filter let’s you mess around with filters/textures, etc. View adjusts zoom, etc, and shows/hides tools and rulers. Window contains the panels docked on the right side of the screen.
Cool feature – if you search for something in the menu bar and hover on it in help, it will bring it up for you.
These videos are apparently out of date. There’s no longer an applications toolbar, here are some shortcuts to use instead.

The options bar at the top changes for what you have selected in the toolbar docked on the left.

Toolbars
Hit the two little arrows at the top to switch between a double or single column toolbar.

If you see a little arrow in the bottom right hand corner, click and hold on that tool to see more options.

You can see that there are lines, dividing the tools into groups. The first group is the Selections group, which includes the move group for moving layers across the canvas. The second is the Image, editing and painting group, used for touching up, erasing stuff, lightening, blurring, etc. The third is the Vector group, which let’s you draw, select and manipulate vector shapes. The fourth is the General tools, like zoom, hand tool to navigate around the screen, etc. The fifth represent the Foreground and background color selector, with the top square being the foreground. Use the arrows to swap them, and the little box in the bottom left to restore them to their default. The last icon is the Quick mask tool, which is for toggling back and forth between standard editing mode and quick mask mode.

Hover on a tool to see its name/shortcut.

Windows and Panels
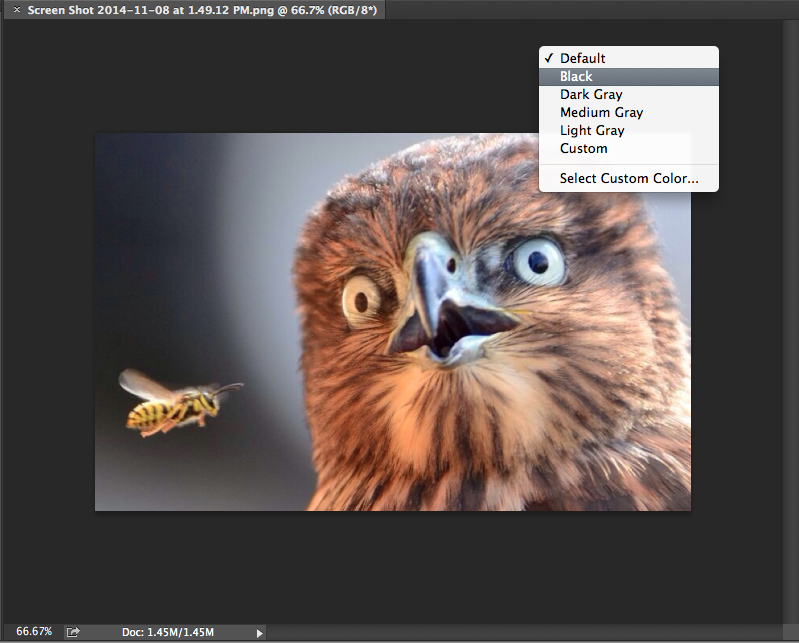
To add a file, do File > open, or just drag it onto the window. It will open up in a section called the Document window. If you right click the background you can change the color.
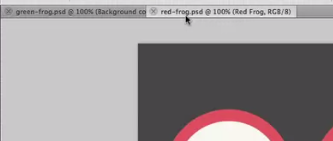
When you have multiple documents open, they’ll appear as tabs at the top. You can rearrange by dragging them, or make separate them by dragging them out.

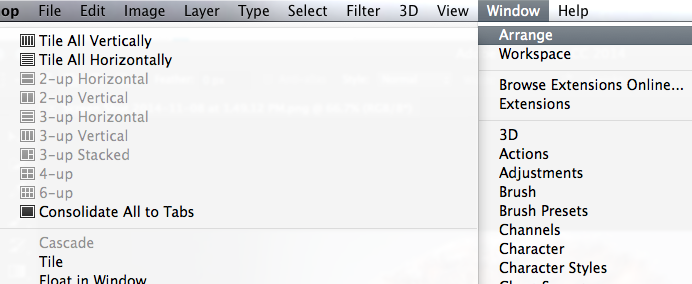
You can arrange how these appear under the Window > Arrange.
At the bottom of the window menu, you’ll see a list of all the documents you have open. The one checked is the active document window.
On the right side are the panels, which you can expand/collapse with the little arrows on the top right.

The panels can be moved around, even separated into a new window, which can have tabs of its own, and then drag them back into the right section.

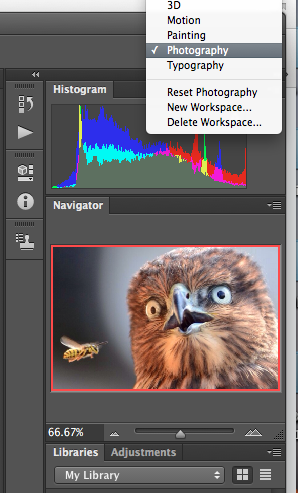
To save a custom set up of panels, hit the drop down above them > new workspace.
Layer Basics
Introduction to Layers
Layers are the most important part of photoshop, so much so that they have their own panel and menu in the menu bar.

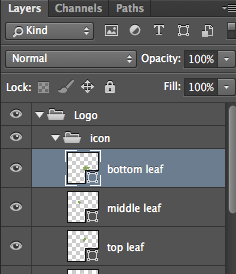
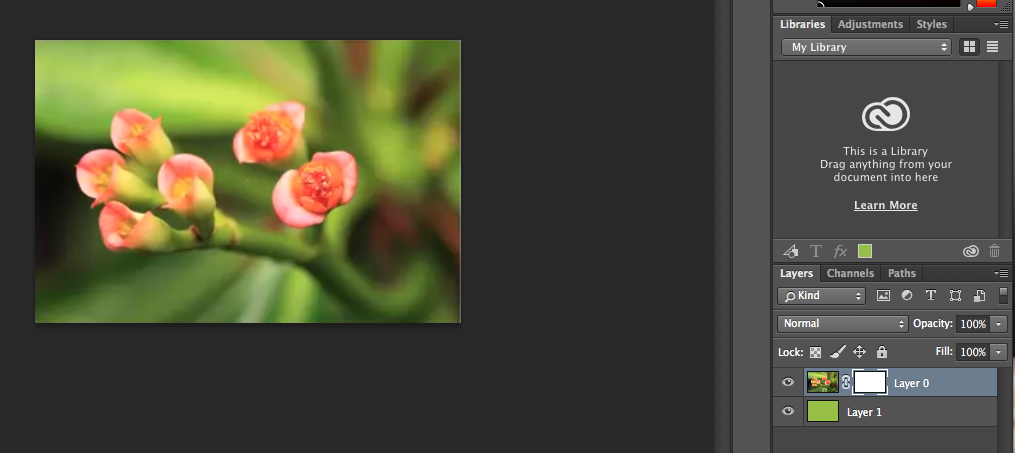
The layers panel is on the right, and can be toggled under the Window menu. To turn a layer off/on, use the little eye on the left.
Create a new layer either with this bottom on the bottom of the panel, by going to Layer > New > Layer, or with the shortcut Shift+Command+N. A pop up will appear letting you name it and select its color.


The paint bucket, an option under the gradient tool, can be used to select a color for your layer.
The order of layers is important. The higher the layer is in the list, the closer to the top of the image it will appear. You can group layers together with groups. To create a new group, click the little folder icon next to the create a new layer icon. Click its name to rename it. You can then drag layers into it.
When an entire group is selected, you can move all the layers in that group at once.
The Layer Panel and Blending Modes
The Layers panel is where you manage your layers. If you’re not seeing it, go to Windows > Layers and select it. There are different kinds of layers, such as:

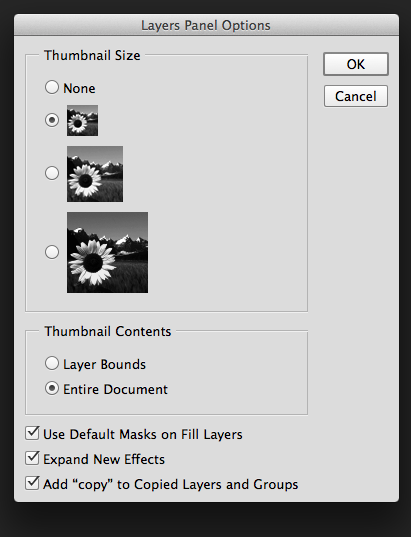
Click the little icon in the top right, then Panel options. This lets you change how layers are displayed in the panel.
PS (photoshop) auto names the first layer Background, which has its own set of rules and restrictions. It’s always locked, you can’t move it or change its opactiy, etc.
Select a layer by clicking on it. Info will appear on it at the top of the layer panel. If you have one selected, anything you do in PS will be applied to it, like it you use the paint bucket tool.
If you click on the Normal drop down, you’ll see your blending mode options. You can also cycle through these by selecting your layer and pressing Shift + +. Opacity affects the appearance of the blending mode.
Layer Styles
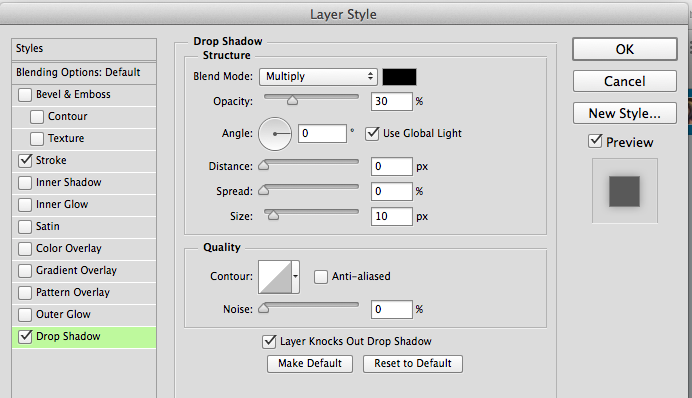
Layer styles are one or more effects or blending options applied to a specific layer. Examples include drop shadows, strokes and gradients. To add styles, double click a layer or right click and choose Blending Options. Make sure preview is enabled so you can see your changes in real time. To apply a style, select it in the left side list. You can then adjust the settings for each.

First we’ll add a drop shadow. Angle affects the direction it drops when the distance is >= 1. If distance = 0, then it will sit evenly around it. Global light means it will inherit the angles from other drop shadows in the document, so they all have the same light source. Spread makes the shadow thicker or denser, and size is how big it will be. Quality let’s you add noise and alter the contours of your shadow.

Next we’ll add a gradient. We’ll select the black to white one, then set the blending mode to soft white and the opacity to 50%. You can change the gradient style to linear, radial, etc. Reverse switches the direction of the gradient.
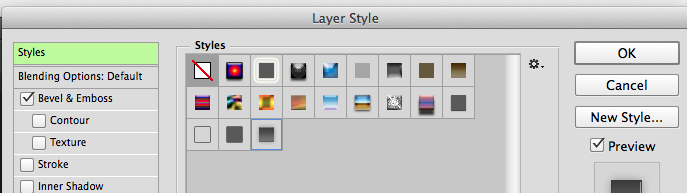
Next we’ll add a Bevel and Emboss effect, which gives an object a raised or depressed look. It has two sub effects, contour and texture. The higher the depth, the sharper the texture, the higher the size the more centered it will be. The shading options let you change the opacity of the shading and lighting, and the angle let’s you change the source of the light.

To save these layer effects as a preset, click New Style on the right. Make sure to check the boxes for including layer effects and blending options. To apply a preset layer effect, just click styles at the top.
You can also right click > Copy Layer Style, then right click > Paste Layer style.
You may need to separate the styles into their own layers, which you can do by right clicking them, then Create Layers.
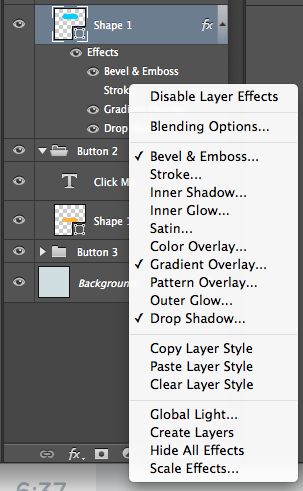
To remove styles, right click the layer > Clear Layer Styles.
Mask Basics
Introduction to Masks
Masks let us show or hide specific parts of layers without erasing the data. When a part of a layer is masked, it’s visually hidden and protected from any visual changes or effects to the rest of the layer. Unlike erasing parts of a layer, it’s easy to unhide a masked part. Using black will hide parts of the image, and using white will reveal parts of it.
The two kinds of masks we’ll be focusing on are:

You can mix and match these as needed. Pixel masks are apparently also called layer masks.
Creating and Refining a Layer Mask
A mask can’t be added to a background layer, so right click it and select Layer from Background, which changes the Background to a normal layer. We’ll then use the Quick Selection Tool ![]() to select the parts we want to be in the foreground. To unselect, use alt when clicking.
to select the parts we want to be in the foreground. To unselect, use alt when clicking.

Then, click the Add layer mask button at the bottom of the layers panel, which looks like a little camera. You can add a red overlay, called a rubylith, by clicking \. It’s also a good idea to add a bright background layer so you can see what edges might not have been masked properly.
She did that by clicking and selecting a foreground color, then using the paint bucket tool on the exposed layer.


We can use the Refine Edge option to make that look better. Select your mask in the layer panel, then in the menu bar Select > Refine Mask. The View option lets you choose the colors to help you see the outline better. Radius determines the size of the selection border in which the edge refinement occurs. A small radius = sharper edges and a large one = softer ones. Smooth creates a smoother outline, and feather creates more of a blur between the outline and its surrounding pixels. Increasing Contrast makes softened edges become harder. Shift edge contracts and expands the selection. Moving them inwards can help remove unwanted background colors from the selection.

You can click the little paint brush for the Refine Radius tool, which you can use to paint over edges to add fine details.
Masks and the Brush Tool
Click b to select the brush tool, then use the options at the top to select your brushes size and hardness. You can increase/decrease its size with the bracket keys as well. Hardness affects the brush/border strength, 1% being soft and 100% being hard. These can be changed with the shortcut Shift+ bracket keys.
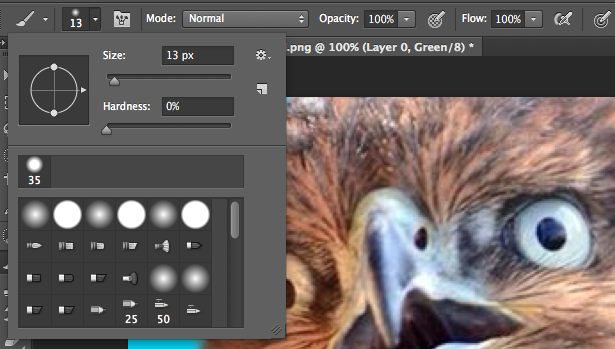
You then have opacity and flow. 100% opacity means the brush is opaque. The flow sets the rate of color applied, each time you press the mouse, this sets the limit, and it can’t be increased unless you click again in the same place.
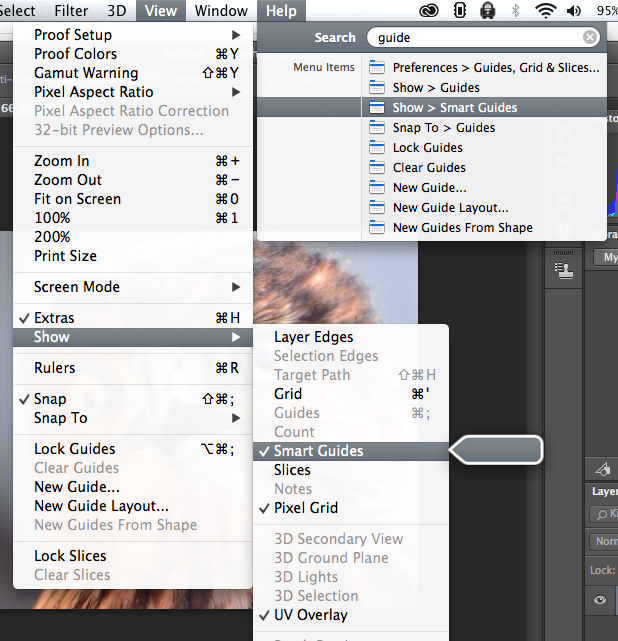
Use white to show and black to hide. You can switch between your two selected colors with X. You can turn on the pixel grid with View > Show > Pixel Grid.
To move around while painting like this, press the space bar, which moves the screen with the flow of your painting, without having to use the zoom tool (though this didn’t work for me at all).
Creating Basic Vector Masks
Let’ cut out this orange using the Shape tool (u) > Ellipse tool and then Path button under the options bar. Draw a ellipse around the orange, it doesn’t have to be perfect.

Next, use the direct selection tool under the path selection tool (a) to change the shape so it fits the orange better using the little dots on the lines. Once you’re happy, right click your background color and select Layer from Background so we can make a mask.
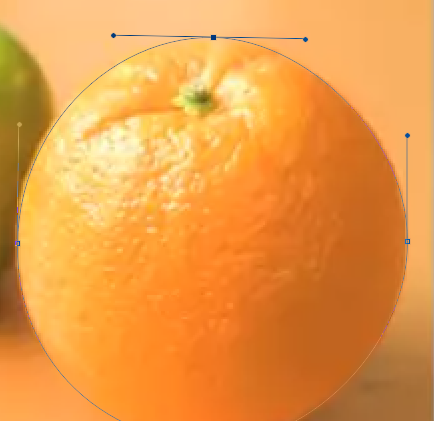
Go to the menu option Layer > Vector Mask > Current Path. Deselect the layer in the layer panel to see the final result.

Masks and Gradients
You can fade one layer mask into another layer using the gradient tool. We’ll start with two photos of flowers. We’ll expand our canvas under the menu Image > Canvas Size. Changing the canvas size does not change the scale or size of anything in our document. However, if you set the canvas smaller than your image, it will be cropped. The relative box will make it so that the resize will make the the new dimensions relative to the current ones. The anchor arrows are for which direction you want to add or remove space. Since we’re adding a flower to the left side, we’ll select the right arrow.

You can decrease the top layer’s transparency to get a better idea of how it will look.
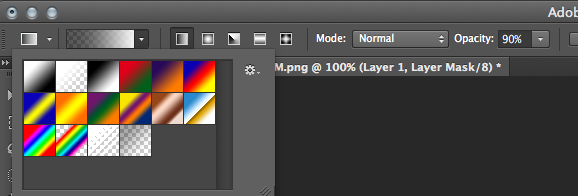
Next, we’ll select the gradient tool and set it to black to white (1), then make sure that normal is selected for the blending mode.
You then add a layer mask to the top most layer, and on that use the gradient tool to draw a line for the gradient.

The radial gradient is good if you want the mask to fade evenly around all sides of the layer. We’ll start with a flower photo with a green layer below it, and add a mask.
Next, select the gradient tool, make sure it fades from white to black, and that it’s a radial gradient. Then, drag from the center to the end of the canvas.

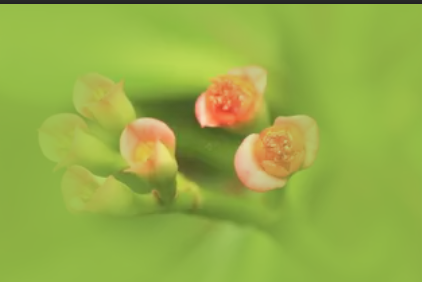
You can clean this up with the brush tool. Remember, select white if you want to show more.

